
 中文简体
中文简体

First Installation
- Open the computer and start the software of LMS-8000. Press the Power button to start LMS-8000 spectroradiometer.
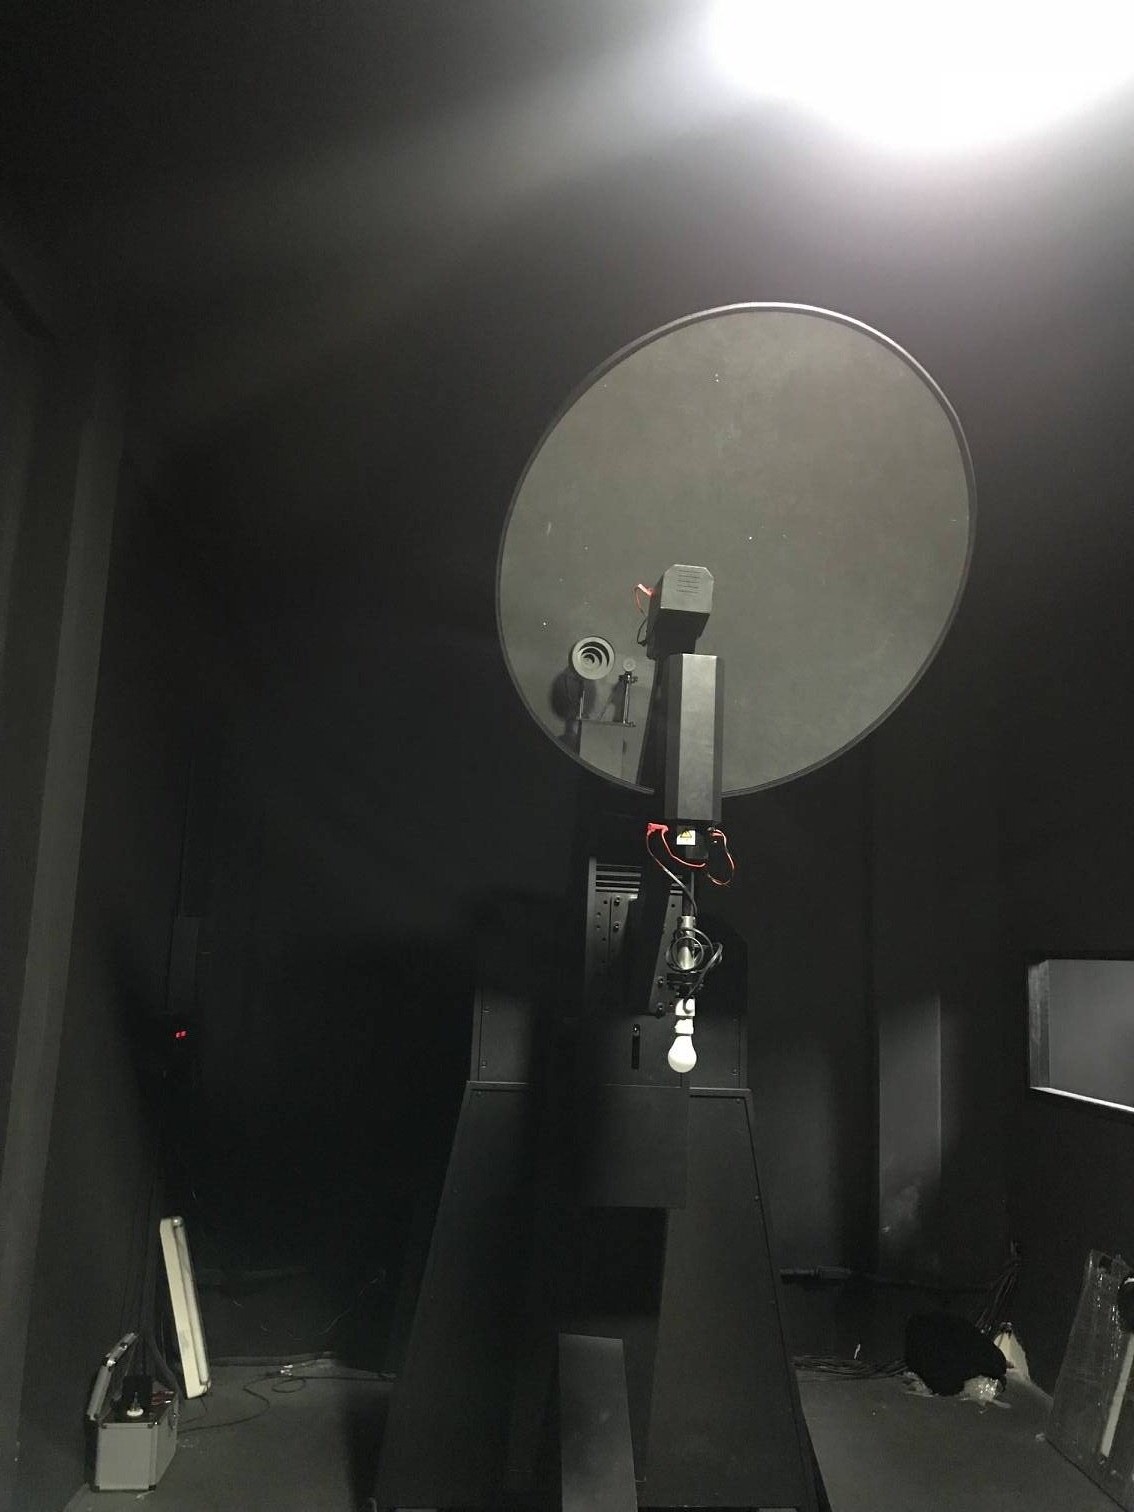
- Install the Standard Lamp on the LED fixture, get it though the positive and negative metal, and put it into the Integrating Sphere.
Second Calibration
- Key the number of Reference Voltage : 5.9V into Output Vol(V).
- Click Setup, and click Output (it then turns into Turnoff). The Standard Lamp is on (if it is not on, check its correct connection with the positive and negative metal). Close the door of the Integrating Sphere.
- Check the screen of LMS-8000, it shows the numbers as the following picture.

- Check the interface of the software, it shows the numbers as the following picture.

- Click Turnoff (it then turns into Output), and the Standard Lamp if off.
- Key the number: 8 or the Reference Voltage number x 1.2 into Output.
- Click Setup and Output (it then turns into Turnoff).You can hear a sound from LMS-8000 tester.
- Check the screen of LMS-8000, it shows the numbers as the following picture.
- Check the interface of the software, it shows the numbers as the following picture.

- Click Test and Calibration, it shows the following picture.

- Click Ok, it will show the following picture. Key the number of Calibtated CCT: 2645k, key the number of luminous Flux: 89.4lm. Click Set, Start and Save.

- Click Turnoff, it then turns into Output. The Standard Lamp is off. Get it out of the Integrating Sphere and put it in to the box when it is not hot.
- Finish the calibration; you can go on for other lamp test.


